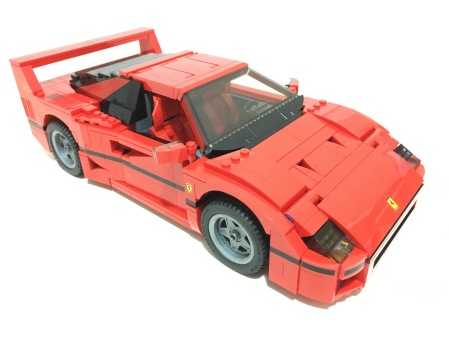
Day 1778, 28/12/2017:
Considering I have a scale model Ferrari F-40, it was a no-brainer I’d be getting the Lego version. Of course attempting to build this when there was a move-out date from my unit around the corner meant there was a risk that it would take some time to be built. Turns out that time was 527 days (18th August, 2015 ~ 26th January, 2017). It’s what happens when you move into a significantly smaller place (with no place for Lego), get engaged, married then move into a new house. But it got completed:
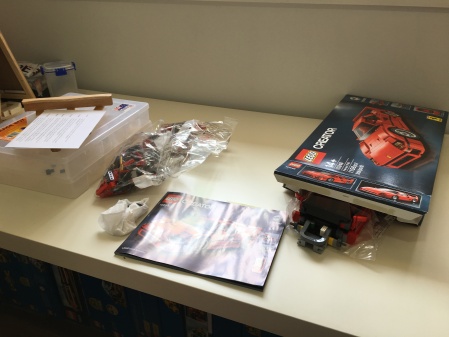
It’s just a shame that when I got the box, it came like this:


As far as I could tell, it wasn’t due to the delivery, but more the box manufacturing. Nothing was missing or broken, but not exactly Ferrari quality (but at least it wasn’t on fire).
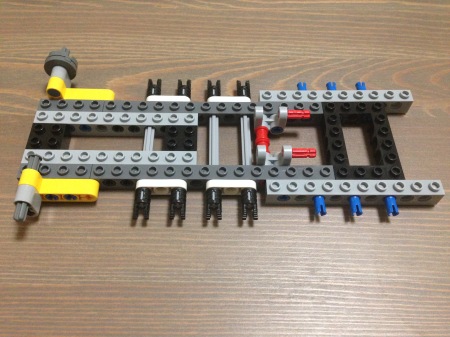
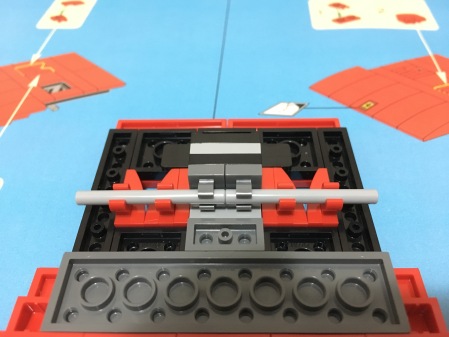
The instructions first have you setting up the chassis:
2 pedals?? Is this the automatic version of the Ferrari F-40??
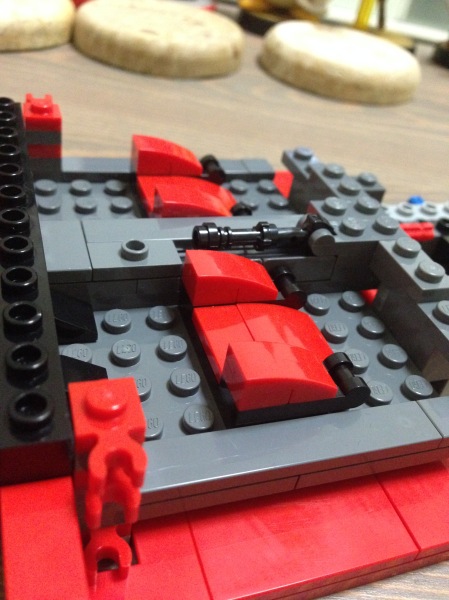
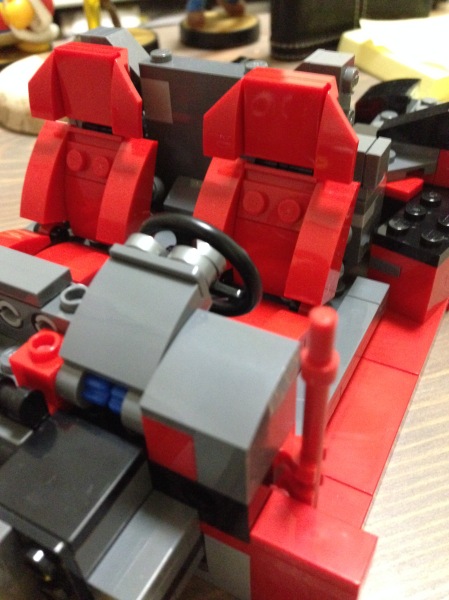
The bottom of the seats and handbrake installed:
The dash and the steering wheel get installed next. Note the Ferrari badge on the steering wheel:
The back of the cabin and rest of the seats:
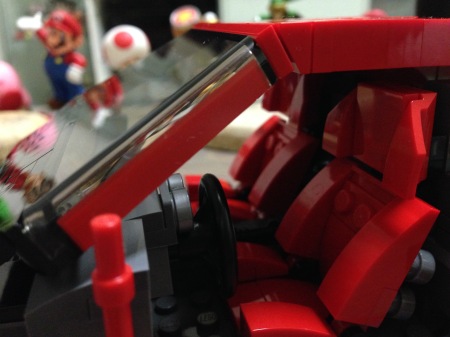
Windscreen and roof installed:
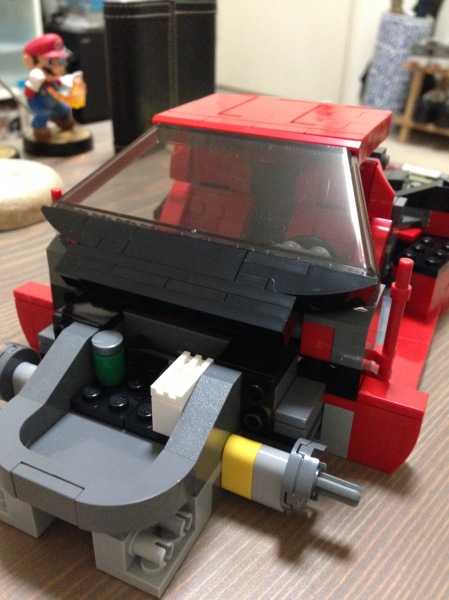
Note that the windscreen doesnt actually connect to the roof:
Five months later…
New location, and new doors!
On the inside they even replicate the cable door handle of the original:
I’m impressed with how they replicate the F40’s side NACA ducts:
One year later…
Something something getting married; something something new place. Anyway, found time to sit down and complete the Ferrari F-40 in the new Lego room:
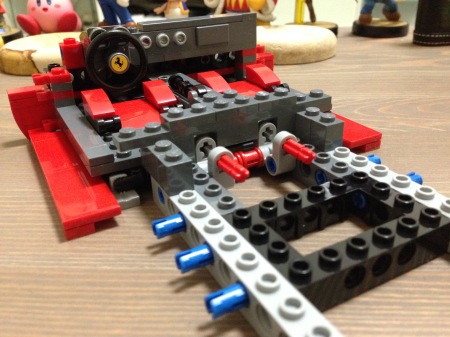
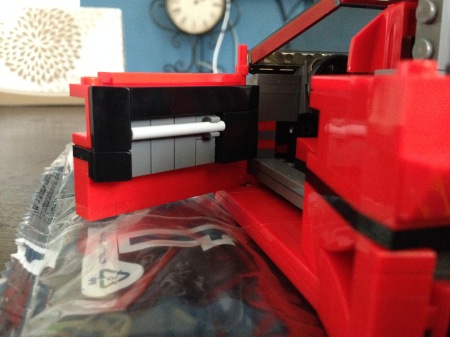
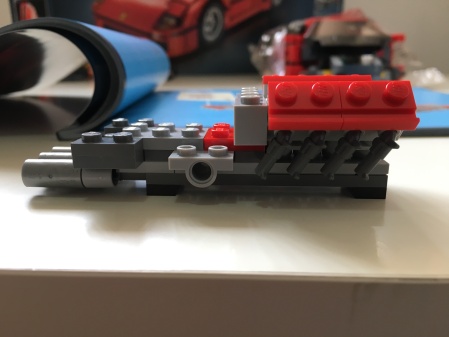
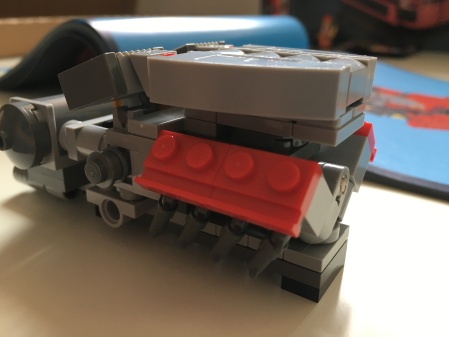
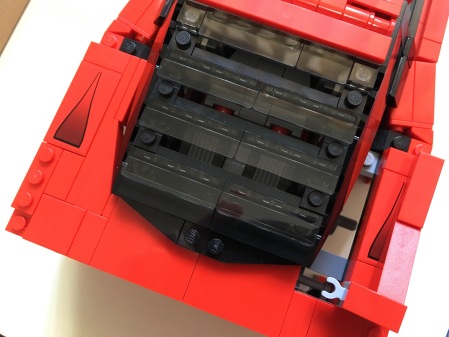
With the shell of the car mostly done, the instructions sets you onto creating the 2.9 L twin-turbocharged Tipo F120A V8 engine and transmission:
I like how the designers replicated the exhaust manifold:
Yee-haw Emmet indeed:
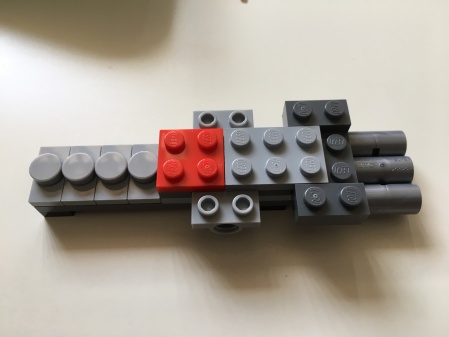
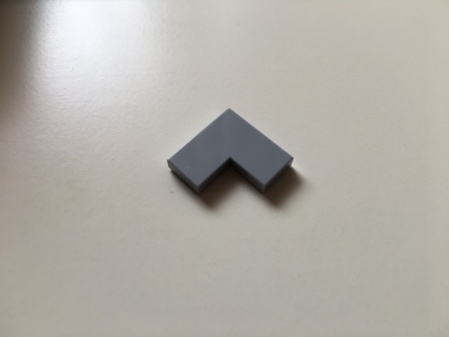
This build has it’s fair share of pieces I havent seen before, including the exhaust tips in the first engine picture. a flat L-shape piece:
This circular flat piece with just a single stud in the centre:
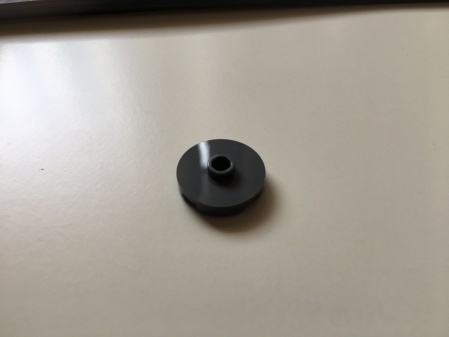
And it’s cousin the circular flat piece with a single hole in the centre:
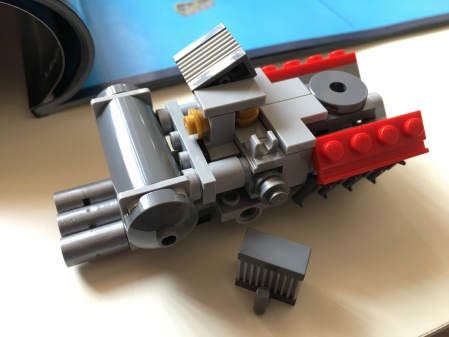
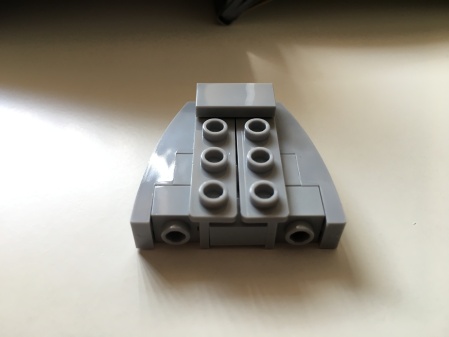
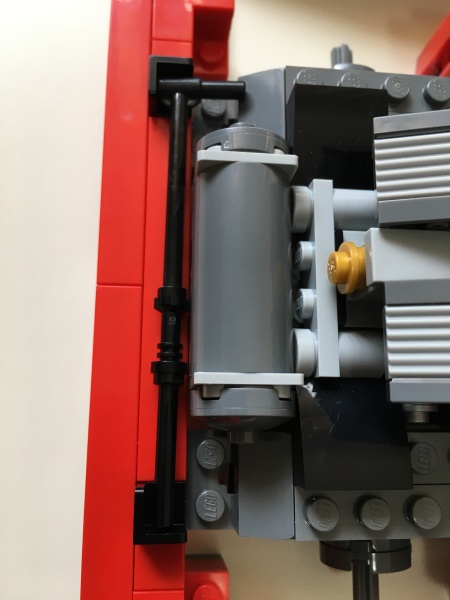
One heat exchanger (the finned 2×4 block top and bottom centre) has already been installed.
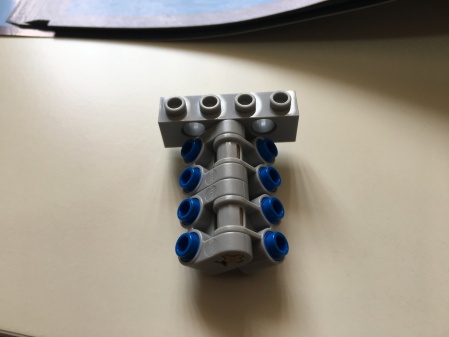
The manifold is an interesting design that I don’t think quite works. As can be seen, the two sides of the manifold need to join side-by-side, but we’re dealing with two bottom ends:
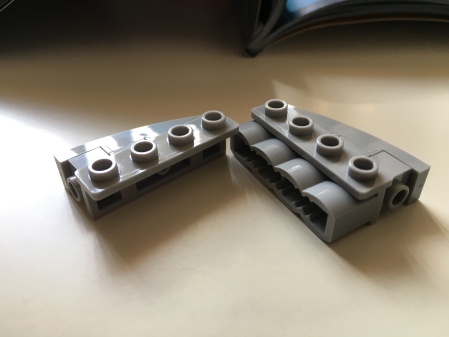
It just so happens that the two sides are just 2 studs wide:
Just however. When you connect them up, you can see that the top half is pinching together, leaving the manifold not exactly flat and gapless:
Full points for creativity though.
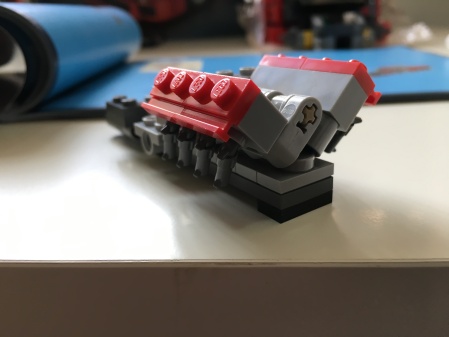
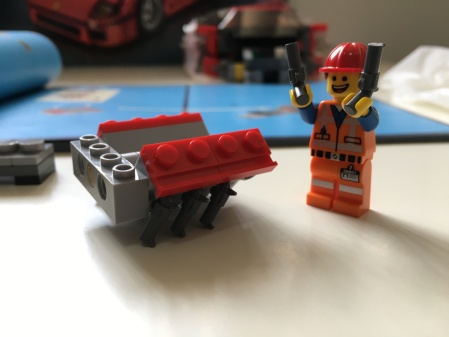
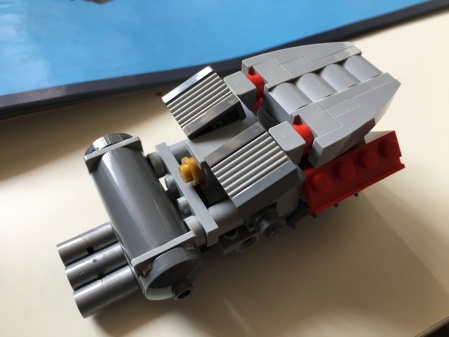
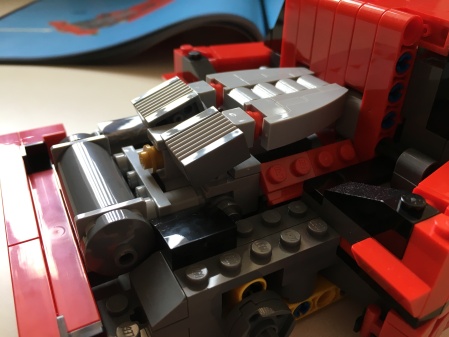
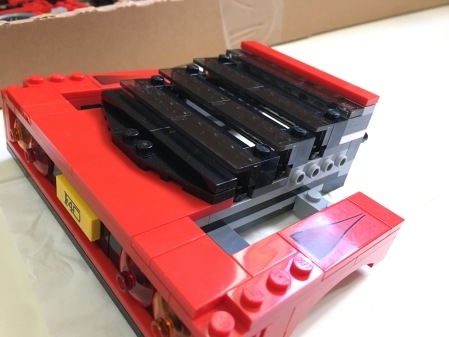
And below is the Lego Ferrari F-40 twin turbo engine, complete with exhaust system:
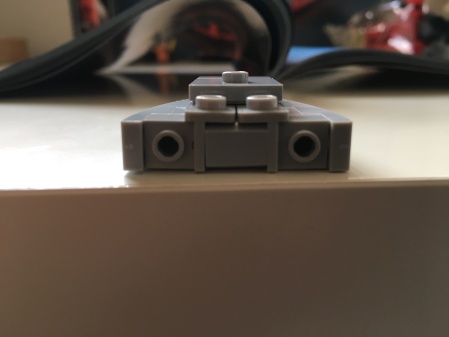
You can see one of the ‘turbos’ represented by the dark grey 1×1 round stud sticking out of the side towards the back end:
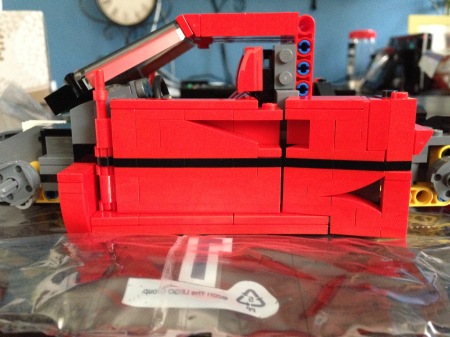
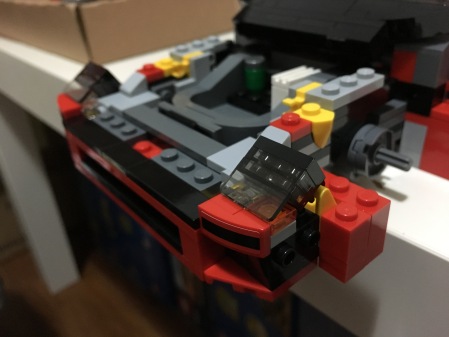
With the engine complete, it’s time to marry it to the ‘lightweight’ chassis:
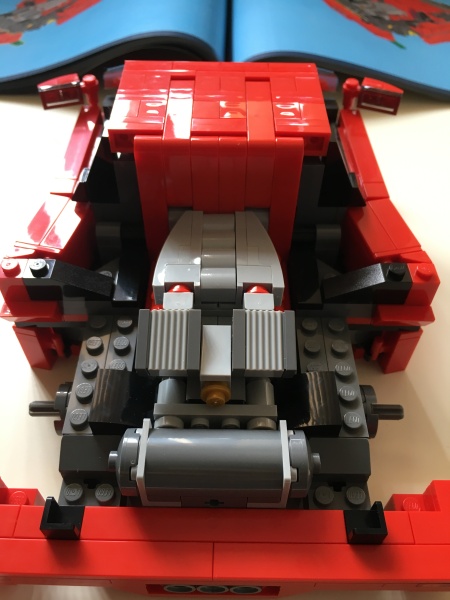
The pole to keep the rear bonnet up:
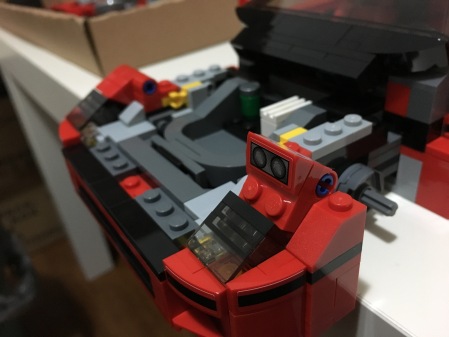
The rear bonnet nearly complete:
The rear bonnet has an interesting way in replicating the roundish shape of the rear window. The gap around the window is filled by an angled red section that is slotted in sidewards. It clips in as can be seen by the light grey clip in the lower right, and the pole it clips onto at the bottom of the hole of the gap:
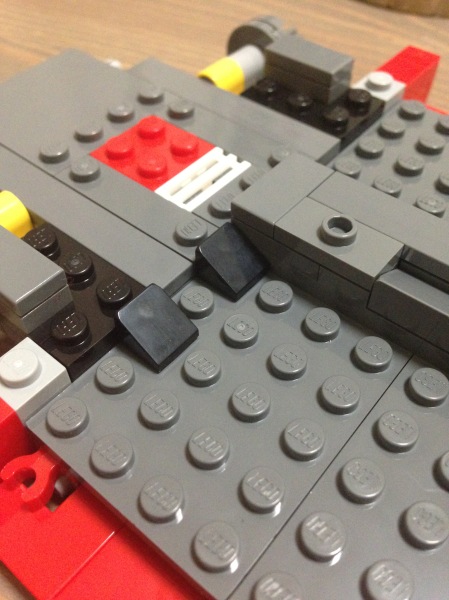
Adding some of the little touches:
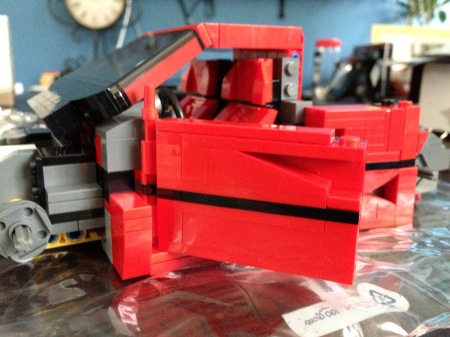
The rear with completed wing:
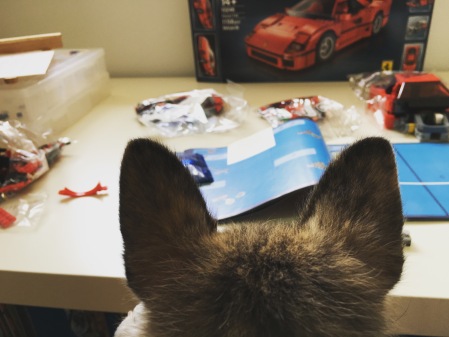
Wilbur, or allegedly Pomeranian mix sits in to watch a classic being made:
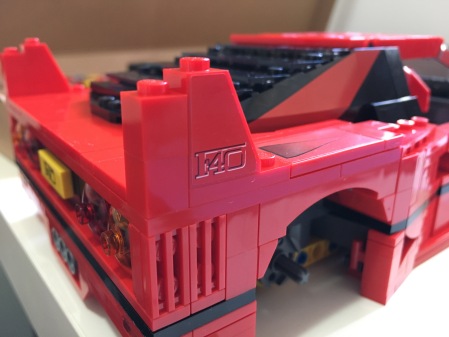
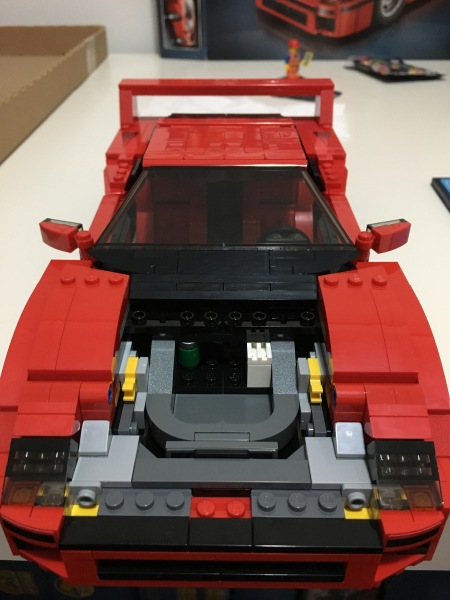
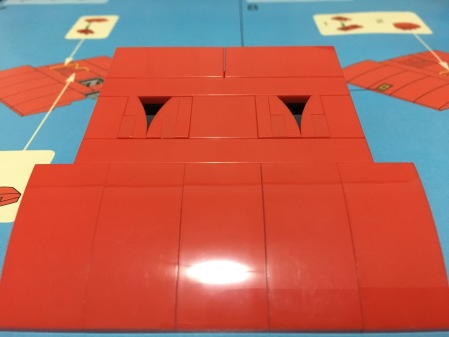
The final section is the front, where some interesting SNOT choices are seen:

The headlights are attached to the yellow handle bars to give it the angle needed:
Pop-up headlights go next:
Only the bonnet left:
The bonnet itself:
To get the curves of the inlets, the pieces are on their sides. To attach them, there’s a pole under the bonnet that the sideward pieces clip onto:
Pretty clever.
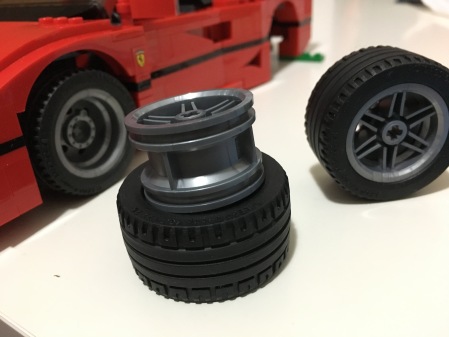
The rims have different designs on either side, with one side allowing you to install the special star fascia of the Ferrari F-40 (not shown in the photo below):
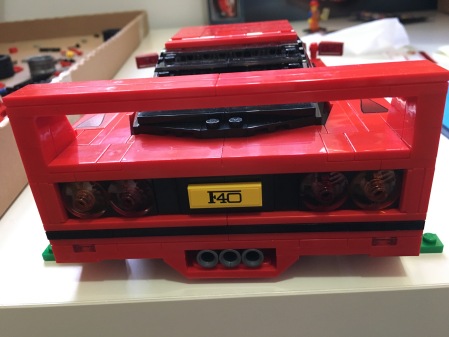
And with the set complete, the glamour shots:


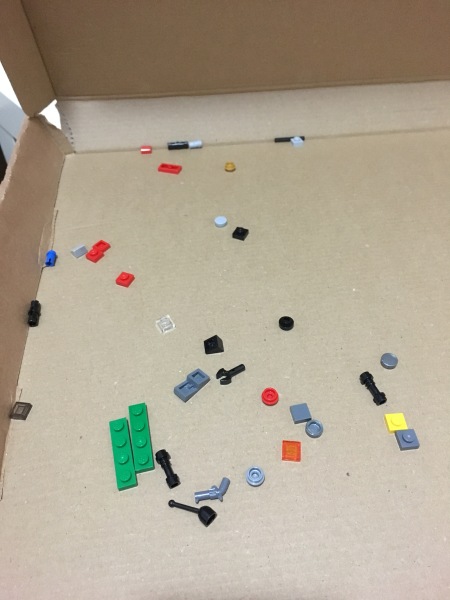
There was a surprisingly large number of left over pieces after I was done:
Tags: 10248, car, creator, dog, engine, F40, ferrari, Lego, lego creator, sports car, turbo, twin turbo, Wilbur

Leave a comment