Posts Tagged ‘car’

Brave New Lego World: day MDCCLXXVIII: 10248 Ferrari F40

December 28, 2017

Day 1778, 28/12/2017:

Considering I have a scale model Ferrari F-40, it was a no-brainer I’d be getting the Lego version. Of course attempting to build this when there was a move-out date from my unit  around the corner meant there was a risk that it would take some time to be built. Turns out that time was 527 days (18th August, 2015 ~ 26th January, 2017). It’s what happens when you move into a significantly smaller place (with no place for Lego), get engaged, married then move into a new house. But it got completed:

IMG_6947.JPG

It’s just a shame that when I got the box, it came like this:

As far as I could tell, it wasn’t due to the delivery, but more the box manufacturing. Nothing was missing or broken, but not exactly Ferrari quality (but at least it wasn’t on fire).

The instructions first have you setting up the chassis:
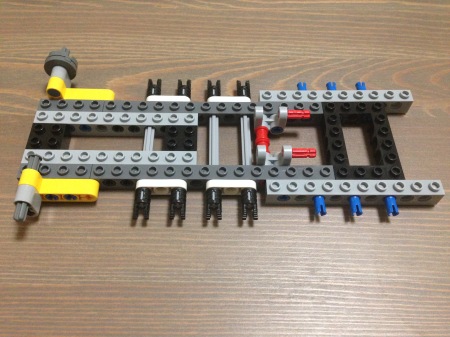
IMG_3375

2 pedals?? Is this the automatic version of the Ferrari F-40??
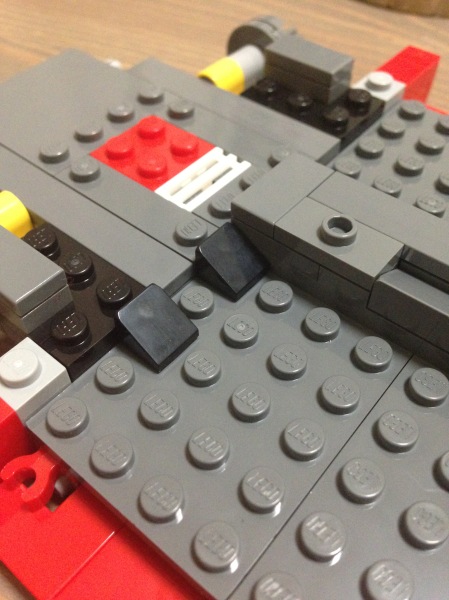
IMG_3377

The bottom of the seats and handbrake installed:
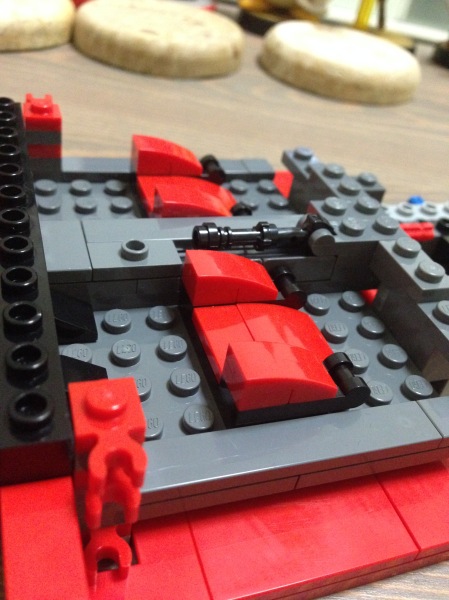
IMG_3381

The dash and the steering wheel get installed next. Note the Ferrari badge on the steering wheel:
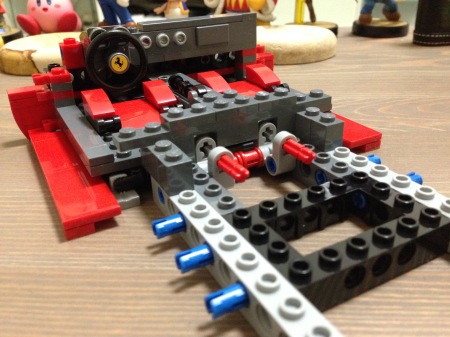
IMG_3391

The back of the cabin and rest of the seats:
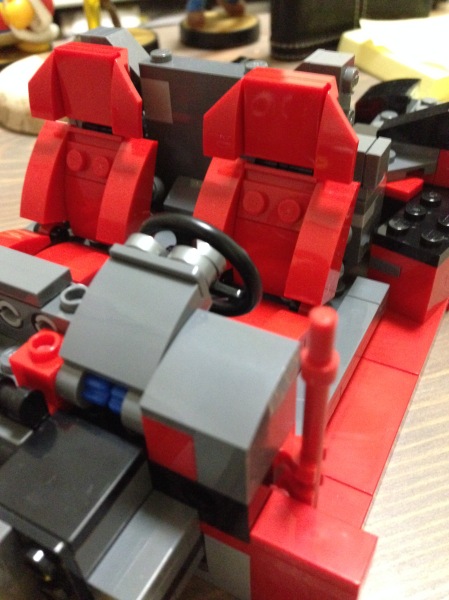
IMG_3398

Windscreen and roof installed:

IMG_3401

Note that the windscreen doesnt actually connect to the roof:
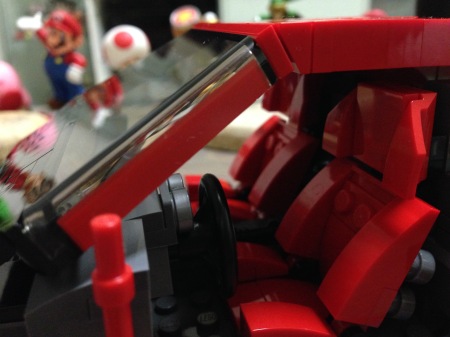
IMG_3400

Five months later…

New location, and new doors!
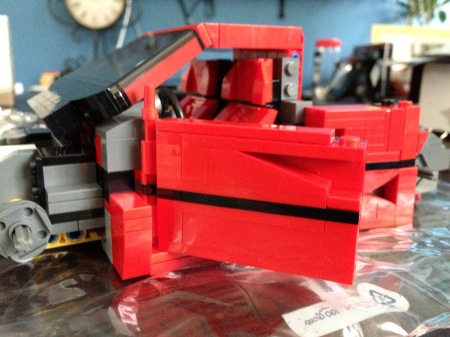
IMG_4283

On the inside they even replicate the cable door handle of the original:
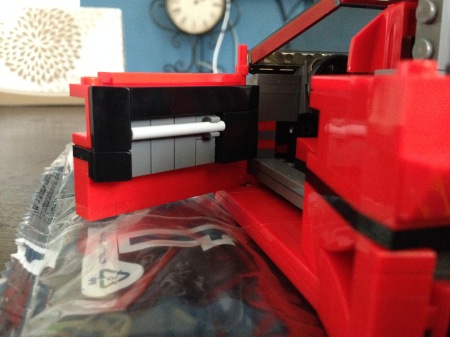
IMG_4284

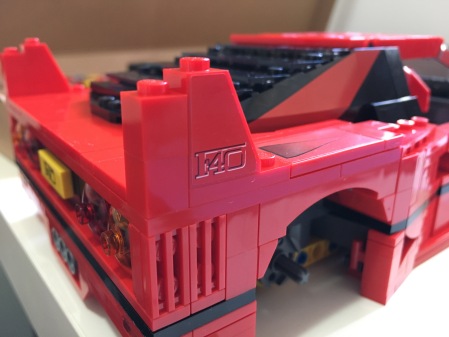
I’m impressed with how they replicate the F40’s side NACA ducts:
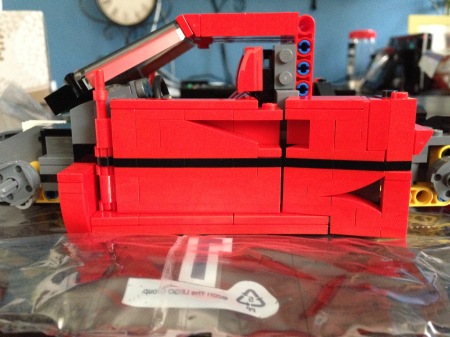
IMG_4285

One year later…

Something something getting married; something something new place. Anyway, found time to sit down and complete the Ferrari F-40 in the new Lego room:
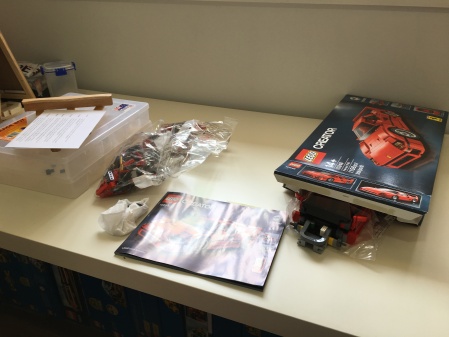
IMG_6769

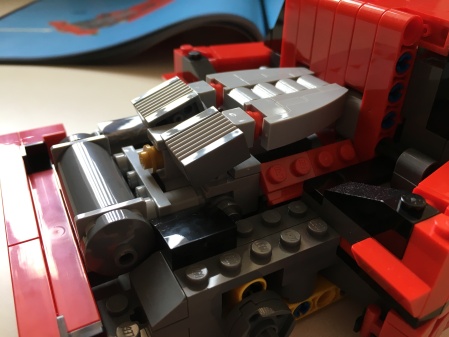
With the shell of the car mostly done, the instructions sets you onto creating the 2.9 L twin-turbocharged Tipo F120A V8 engine and transmission:
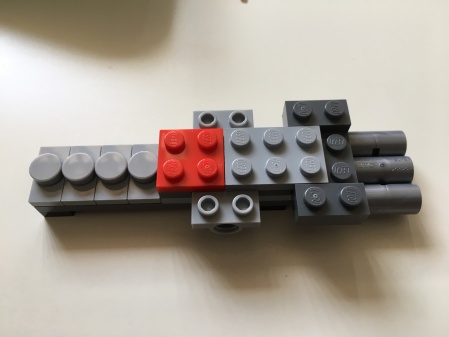
IMG_6770

IMG_6772

I like how the designers replicated the exhaust manifold:
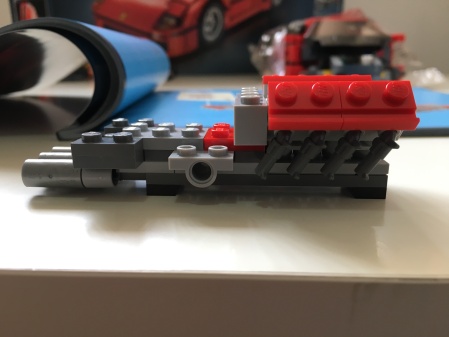
IMG_6777

IMG_6778

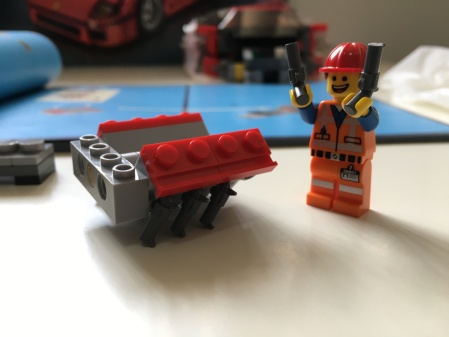
Yee-haw Emmet indeed:

IMG_6776

This build has it’s fair share of pieces I havent seen before, including the exhaust tips in the first engine picture. a flat L-shape piece:
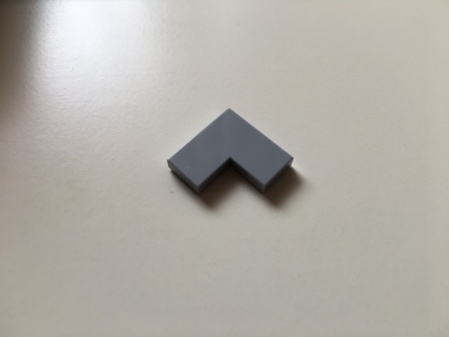
IMG_6784

This circular flat piece with just a single stud in the centre:
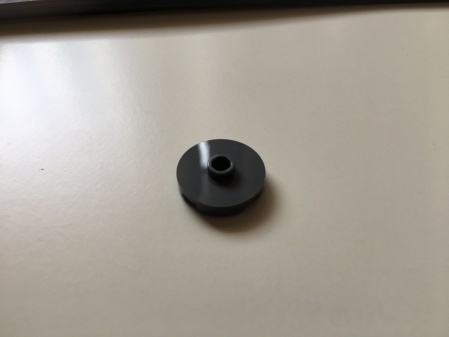
IMG_6786

And it’s cousin the circular flat piece with a single hole in the centre:
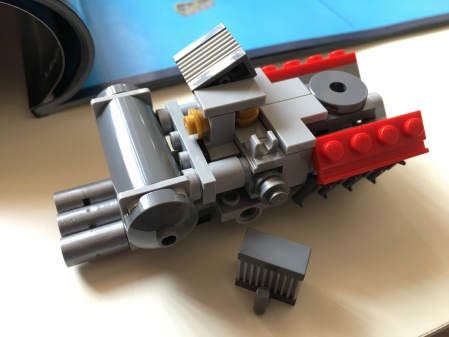
IMG_6788

One heat exchanger (the finned 2×4 block top and bottom centre) has already been installed.

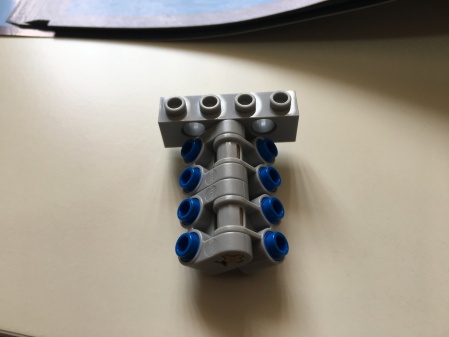
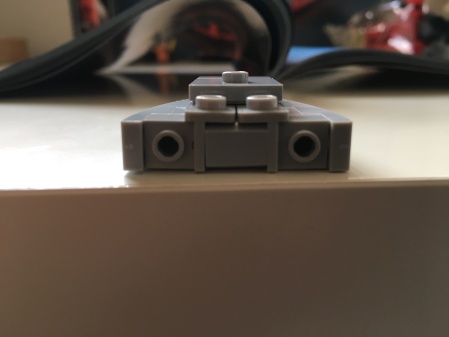
The manifold is an interesting design that I don’t think quite works. As can be seen, the two sides of the manifold need to join side-by-side, but we’re dealing with two bottom ends:
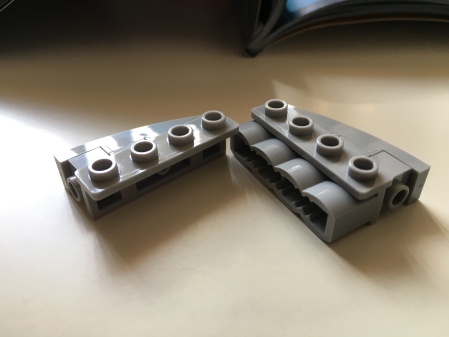
IMG_6790

It just so happens that the two sides are just 2 studs wide:
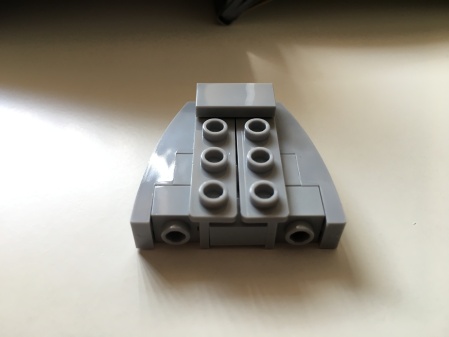
IMG_6791

Just however. When you connect them up, you can see that the top half is pinching together, leaving the manifold not exactly flat and gapless:
IMG_6792

Full points for creativity though.

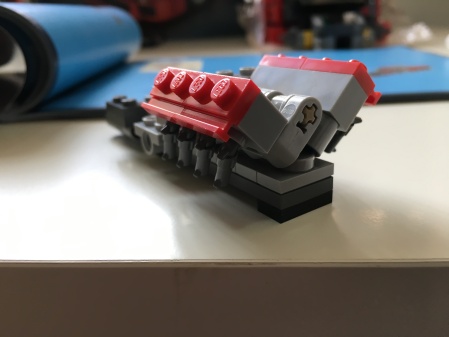
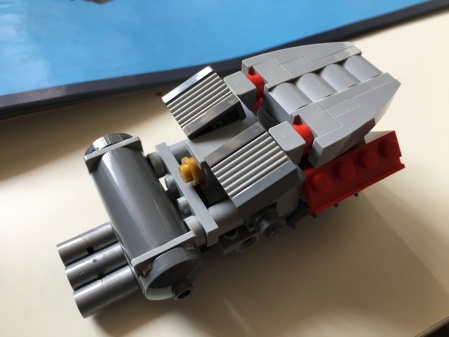
And below is the Lego Ferrari F-40 twin turbo engine, complete with exhaust system:
IMG_6794

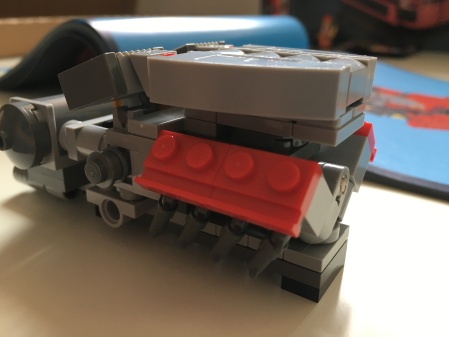
You can see one of the ‘turbos’ represented by the dark grey 1×1 round stud sticking out of the side towards the back end:
IMG_6795

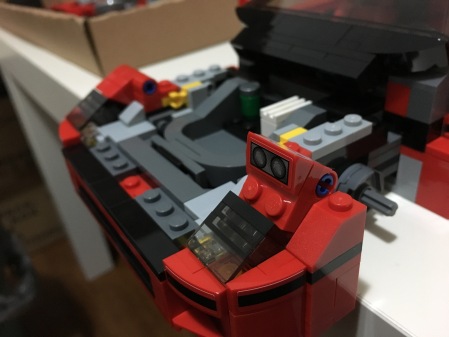
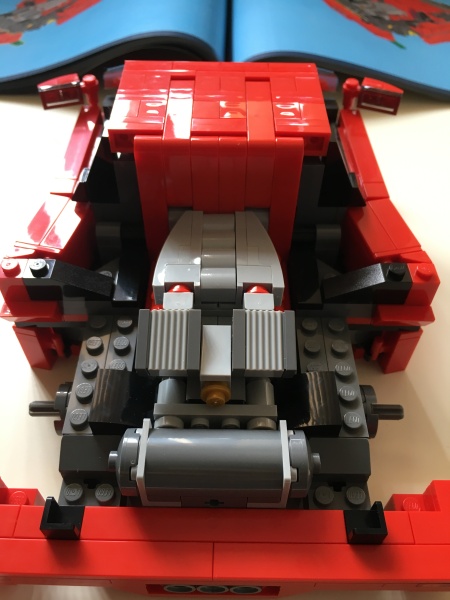
With the engine complete, it’s time to marry it to the ‘lightweight’ chassis:
IMG_6799

IMG_6800

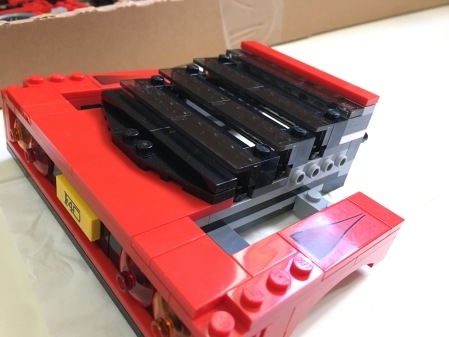
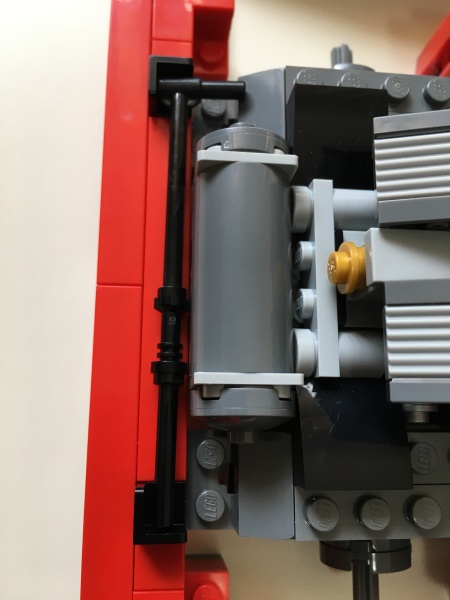
The pole to keep the rear bonnet up:
IMG_6803

The rear bonnet nearly complete:

IMG_6834

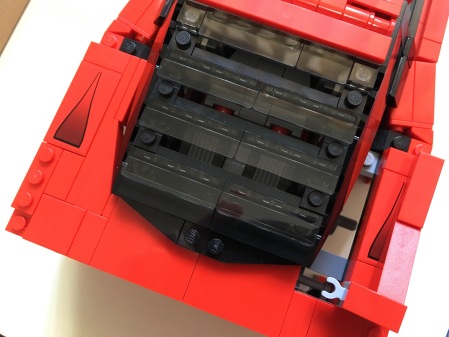
The rear bonnet has an interesting way in replicating the roundish shape of the rear window. The gap around the window is filled by an angled red section that is slotted in sidewards. It clips in as can be seen by the light grey clip in the lower right, and the pole it clips onto at the bottom of the hole of the gap:
IMG_6836

Adding some of the little touches:

IMG_6839

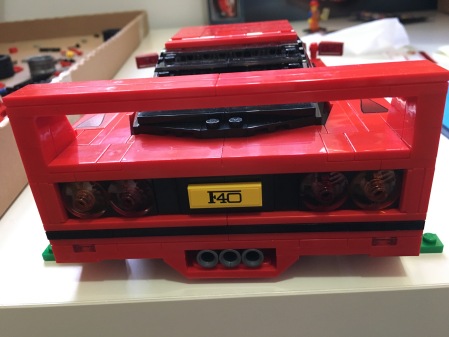
The rear with completed wing:

IMG_6841

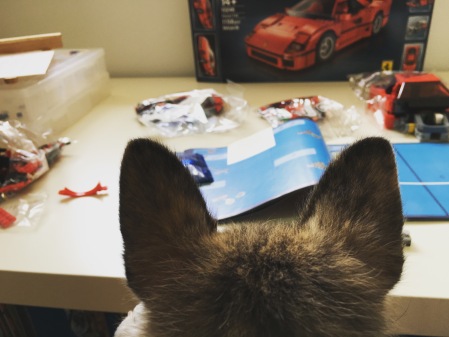
Wilbur, or allegedly Pomeranian mix sits in to watch a classic being made:
IMG_6864

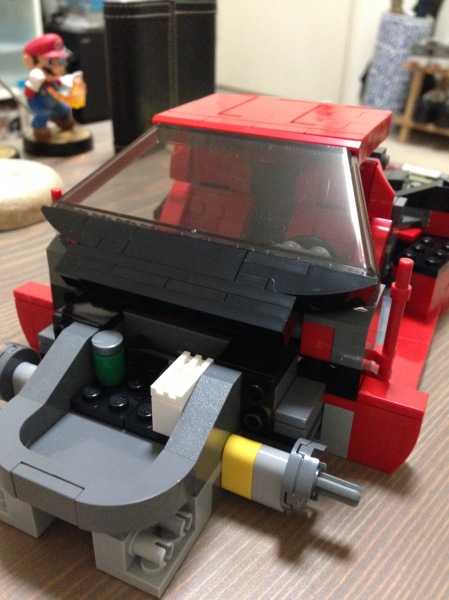
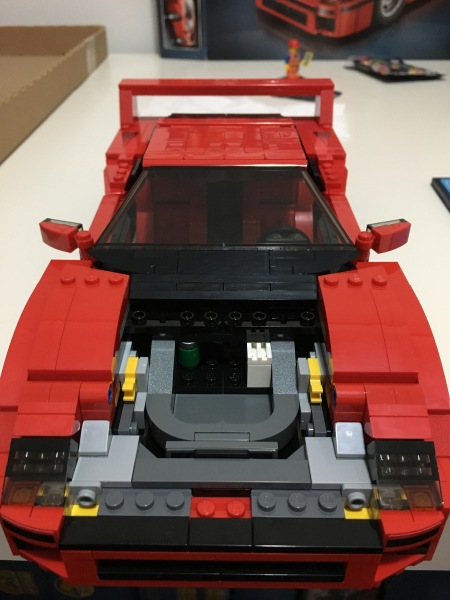
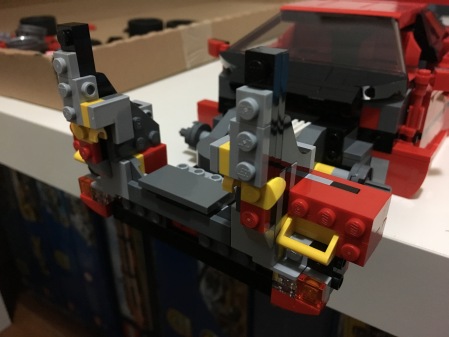
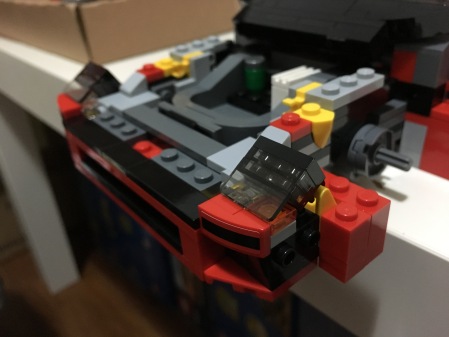
The final section is the front, where some interesting SNOT choices are seen:
IMG_6938

The headlights are attached to the yellow handle bars to give it the angle needed:
IMG_6939

Pop-up headlights go next:

IMG_6940

Only the bonnet left:

IMG_6941

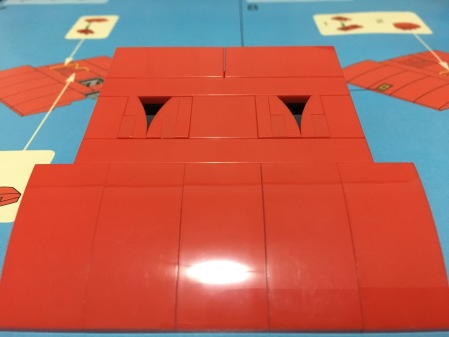
The bonnet itself:

IMG_6942

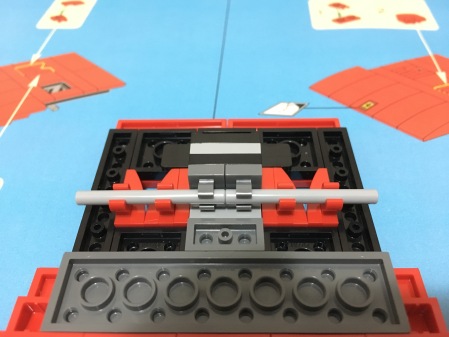
To get the curves of the inlets, the pieces are on their sides. To attach them, there’s a pole under the bonnet that the sideward pieces clip onto:
IMG_6943

Pretty clever.

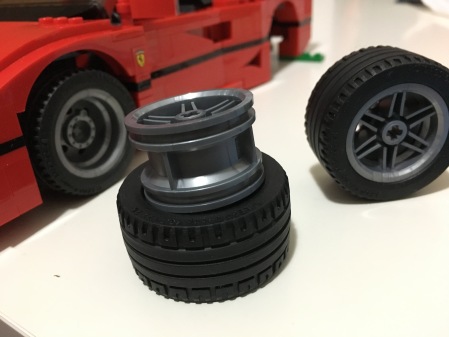
The rims have different designs on either side, with one side allowing you to install the special star fascia of the Ferrari F-40 (not shown in the photo below):
IMG_6946

And with the set complete, the glamour shots:

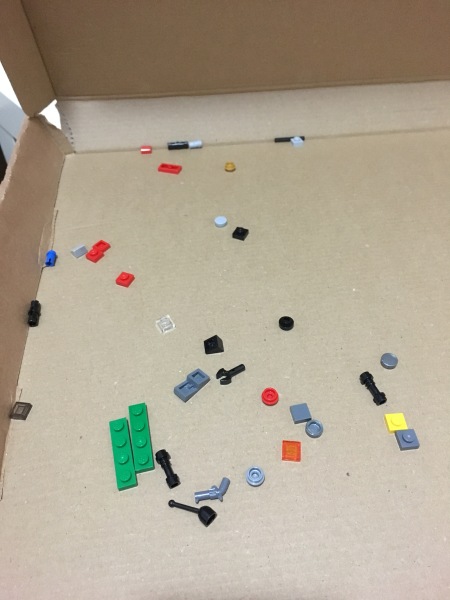
There was a surprisingly large number of left over pieces after I was done:
IMG_6966

Brave New Lego World: day CLXXXIII: 8401 City Mini-figure Collection + 8402 Sports Car + 30017 Police Boat GET!

November 9, 2013

Day 183, 15/08/2013:

Decided to clear up some of the backlog of older sets with a trip to BrickLink.com which netted me a few smaller but very city-esque sets:

Lego City 8402 Sports Car

Lego City 8402 Sports Car

The 2009 8402 Sports Car set is a simple set, but thought it’d be nice to have something in the city that resembled everyday life, as opposed to something from civil services or that clashes with said civil services. Plus it comes with a tree! 😀 And an emergency phone with an actual handset! :O Thankfully the car design is different from others already in my city, adding a bit of variety.

Lego City 8402 Sports Car- back

Lego City 8402 Sports Car- back

Clearly license plates in Lego City are unnecessary, though with such a small population, I guess everyone should know each other 😛

Lego City 8401 City Mini-figure Collection

Lego City 8401 City Mini-figure Collection

I got the 2009 City Mini-figure Collection set because I wanted to boost the number of minifigs in my Lego City city, and felt the collectible minifigs you can get are a bit too ‘costumed’. Plus you can’t go wrong with a boombox.

Lego City 8401 City Mini-figure Collection- back

Lego City 8401 City Mini-figure Collection- back

I also got the 2012 30017 Police Boat polybag:

30017 Police Boat polybag

30017 Police Boat polybag

Considering how many polybags there are, and that they rare get released here (apparently they’re often given away for free in Europe/UK -.-) this could be an expensive sub-collection :/ Especially considering they dont have many pieces and are basic in construction. But the smaller sets will help make the city seem less sparse and more active 🙂

30017 Police Boat polybag- back

30017 Police Boat polybag- back

Brave New Lego World: day LXI: 7639 Camper + 7942 Off Road Fire Rescue + 30150 Racing Car GET!

May 20, 2013

Day 61, 15/04/2013:

Another look through BrickLink meant another series of purchases, but nothing expensive/large: just bought the 2009 7639 Camper, the old 2007 7942 Off Road Fire Rescue and the 2012 Racing Car polybag.

Lego City 7639 Camper

Lego City 7639 Camper

Lego City 7942 Off-Road Fire Rescue

Lego City 7942 Off-Road Fire Rescue

Lego City 30150 Racing Car polybag

Lego City 30150 Racing Car polybag

This is actually my 5th order from BrickLink and most definitely not the last; have quite a few older sets to purchase, nevermind random baseplates and pieces 😛 Also, the Off-Road Fire Rescue is the oldest set I have, excluding the still-on-sale 2005 7235 Police Motorcycle. I also decided to start getting into the polybags as the vehicles are often cute in a simple way and would look humorous next to more fleshed-out vehicles.

Lego City 7639 Camper- back

Lego City 7639 Camper- back

Lego City 7942 Off-Road Fire Rescue- back

Lego City 7942 Off-Road Fire Rescue- back

Lego City 30150 Racing Car polybag- back

Lego City 30150 Racing Car polybag- back

Brave New Lego World: day XXXI: 60001 Fire Chief Car GET!

March 24, 2013

Day 31, 16/03/2013:

Another Myer sale (20% off all toys) so I bit the bullet and got the 2013 Fire Chief Car (60001):

Lego City 60001 Fire Chief Car

Lego City 60001 Fire Chief Car

It’s a cheap set (RRP is 15.99AUD; after discount it was 12.96AUD) so I’m not really saving that much more beyond a 20% discount.

Lego City 60001 Fire Chief Car- back

Lego City 60001 Fire Chief Car- back

I like how the fire extinguisher fits into the car. And my city needs more trees so yay!

Brave New Lego World: day XXV: 4207 Garage FINISH!

March 17, 2013

Day 25, 10/03/2013:

Having completed the vehicles of 4207 Garage, I was quite eager to get into making my first building for the city. So much so I actually ended up finishing within two days (on average it took me several days to finish one vehicle). Found building this was quite enjoyable, especially as I added each major section of a floor to the building. The lift mechanism isn’t anything funky: just a pulley with string. It seems it’s able to hold more cars than it came with, which is good given the number of garage-less vehicles I have.

Overall was enjoyable to make 🙂

The start of 4207 Garage

The start of 4207 Garage

Also shows the double-sided petrol bowser.

Haven't seen a 3x1 smooth piece before

Haven’t seen a 3×1 smooth piece before

It’s always interesting to see the new pieces that Lego has made since my childhood, or pieces I just never had, like this 3×1 smooth piece above.

4x1 smooth plates with printed hazard bars

4×1 smooth plates with printed hazard bars

Surprisingly the pattern isnt a sticker…

Funky lattice structure pieces

Funky lattice structure pieces

The red ‘+’ stubs seem to be there purely as additional support.

The box shows the boomgate in the wrong place

The box shows the boomgate in the wrong place

Only just realised that what is shown on the box isn’t necessarily how the Lego set actually ends up. Not sure if the boomgate being on the other side was a mistake or just to make it visible.

The ramp pieces up to the lift

The ramp pieces up to the lift

Ground floor nearly complete

Ground floor nearly complete

The carwash scrubbers

The carwash scrubbers

Considering the scrubbers are hard, they might actually end up scratching the cars instead of cleaning them >_<

Ground floor nearly complete

Ground floor nearly complete

The carwash being built

The carwash being built

The "computer" for the security room

The “computer” for the security room

Thankfully the decals were already printed on the pieces and not stickers. The OS they use must be full of shortcuts given there’s no mouse ;S

How the monitor connects to the.. support bar :S

How the monitor connects to the.. support bar :S

Must be a wireless monitor…

The security office on the second floor

The security office on the second floor

The security officer playing Solitaire

The security officer playing Solitaire

One of the work bays with spare tires on the second floor

One of the work bays with spare tires on the second floor

There are actually tools in the drawer left of the tire rack.

Not sure why they didn't just use a single green 14x1 piece instead of this setup

Not sure why they didn’t just use a single green 14×1 piece instead of this setup (guess a 14×1 doesn’t exist?)

For all of Lego’s ingenuity, sometimes they do things I don’t quite understand…

The sponsor logo installed

The sponsor logo installed

The third/top floor being built

The third/top floor being built

The light on the left hand side of the top floor is missing on the box :O

The light on the left hand side of the top floor is missing on the box :O

Noticed another discrepancy on the box.

The simple construction of the third floor lights

The simple construction of the third floor lights

They definitely didn't have this piece back in my childhood!

They definitely didn’t have this piece back in my childhood!

This just seems like a cheap piece 😛

What this funky piece looks like from underneath

What this funky piece looks like from underneath

Another piece that I hadn't seen back in my childhood (the yellow piece that is)

Another piece that I hadn’t seen back in my childhood (the yellow piece that is)

… same as this one.

The 4207 Garage completed from the front

The 4207 Garage completed from the front

The kombi van driving into the carwash

The kombi van driving into the carwash

The girl driving her car up the ramp into the lift

The girl driving her car up the ramp into the lift

The girl on the lift at the third floor

The girl on the lift at the third floor

Brave New Lego World: day XXV: Better Get A Lawyer Son… (4207)

March 17, 2013

Day 25, 10/03/2013:

Finished building the 3rd vehicle in the 4207 Garage set:

Totally screams 'lawyer'

“Trust me”

"Good. And non-sequential I see too."

“Good. And non-sequential I see too.”

The car is of a similar design to others, although it has a slightly different front grill, back and has room for the briefcase in the back.

Still no doors though...

Still no doors though…

The different back

The different back

Brave New Lego World: day XXII: 60007 High Speed Chase + 60003 Fire Emergency GET!

March 16, 2013

Day 22, 07/03/2013:

Myer had a buy one get one 50% off sale so I felt it was my duty to take advantage of it. Unfortunately I couldn’t find two identically priced items, so I wasn’t able to get a full 25% off, but I bought the 2013 High Speed Chase (60007) and Fire Emergency (60003):

Lego City 60007 High Speed Chase + 60003 Fire Emergency

Lego City 60007 High Speed Chase + 60003 Fire Emergency

60003 Fire Emergency cost 49.95AUD with the High Speed Chase reduced from 39.95AUD to 19.97AUD.

Lego City 60007 High Speed Chase + 60003 Fire Emergency - back

Lego City 60007 High Speed Chase + 60003 Fire Emergency – back

Brave New Lego World: day IV: Travelling In a Fried-out Kombi (4207)

February 21, 2013

Day 4, 17/02/2013:

Finished off the kombi van:

I come from the land down under!

I come from the land down under!

The design is basically mirrored as the front and back are similar. It’s a two seater with a blue (why blue?) 2×2 block separating the two “seats”; also acts as a cup holder (comes with a red cup).

As with the blue car there are no doors, so entry is questionable/comical:

It's not like Lego doesn't have car doors...

It’s not like Lego doesn’t have car doors…

Kind of a shame that Lego didn’t include a proper wheel on the front.

Bring the vegemite sandwiches!

Bring the Vegemite sandwiches!

Brave New Lego World, day III: Her First Car (4207)

February 19, 2013

Day 3, 16/02/2013:

I’ve decided to start on the 2012 4207 Garage:

Lego City 4207 City Garage

Lego City 4207 City Garage

Whilst it’s not as large area wise (box not withstanding) to some other sets, it is quite tall. Plus it comes with several vehicles and the garage itself is capable of storing them.

The first manual takes you through building the girl and her car, then the guy and his kombi van:

Manual 1 for 4207 City Garage

Manual 1 for 4207 City Garage

The girl’s car is a standard design:  has no doors, has a steering wheel and only seats one. Though unlike my other vehicles this one comes with thin wheels:

Her first car

Her first car: you can tell she’s happy

Interesting to note is that the girl’s long hair only lets her head turn left and right by a small degree.

I do like the red light configuration at the rear:

Back of one of the cars

The coloured light grill at the back

I never really had many light pieces when I played with Lego years ago so always happy to see them.

"So whacha doin' tonight?"

“So whacha doin’ tonight?”

A better shot of the thin wheels and rims:

Impressing the guys

Impressing the guys